
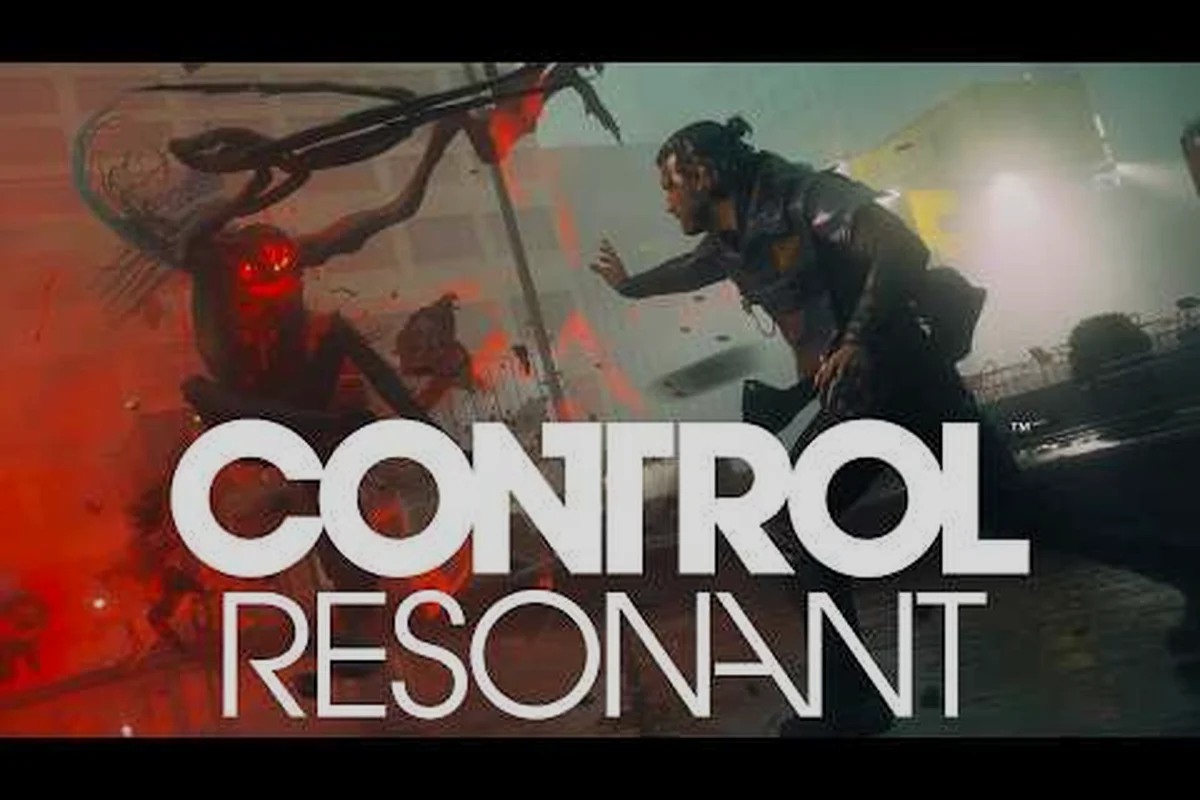
The opening hours of CONTROL Resonant throw players into Manhattan's West Incursion Zone with Dylan Faden and his morphing weapon, The Aberrant. Every upgrade you pick in the first five hours sets the pace for how smoothly you transition into the mid-game. This CONTROL Resonant build guide for beginners locks in a survivability-first framework that keeps you aggressive without burning through health injectors, focusing on the Hammer form's stagger potential and Gravity Well ability to control crowds before enemies can punish you.
Understanding Early-Game Build Philosophy and Resource Allocation
Your build in CONTROL Resonant shapes Dylan’s combat style through four interconnected systems: the Aberrant weapon forms, Parautilitarian abilities, mods, and Artifacts. During the launch window, community playtesting data suggests that new players who spread upgrade materials too thinly across all weapon forms struggle with the Act 2 damage checks, particularly the Distorted Tourist boss encounter. The most reliable CONTROL Resonant progression build funnels early resources into one primary damage-dealing form while using the secondary slot for utility.
| Upgrade Priority | Resource Investment | Combat Role | Example Upgrade |
|---|---|---|---|
| Primary Weapon Form | 70% of early materials | Stagger and burst damage | Hammer form slam combo |
| Secondary Weapon Form | 20% of early materials | Mobility and gap closing | Dual Blades dash attack |
| Core Ability | 10% of early materials | Crowd control and setup | Gravity Well radius mod |
Because The Aberrant is a living weapon that morphs on the fly, your build is less about permanent stat points and more about which form you invest upgrade catalysts into first. The Hammer form's charged slam triggers a Resonant Shockwave that interrupts elite enemy attack chains, which makes it the safest early-game investment before you unlock the advanced weapon customization options detailed on the official Steam page. This approach gives you a consistent stagger tool while you learn enemy patterns, rather than forcing you to perfectly time dual-blade parries against enemies you have never faced before.
Survivability Over Damage in the West Incursion Zone
The West Incursion Zone is not a gentle tutorial area. Gravity anomalies warp enemy pathing, and Hiss-corrupted patrols can chain stunlock Dylan if you overcommit to damage combos. A survivability-first build philosophy means prioritizing health injector efficiency and stagger resistance over raw DPS in the first two Acts, then transitioning to a damage-focused spec after unlocking the Parautilitarian Resonance skill tree.
-
Health Injector Efficiency: Mods that increase injector speed and healing amount prevent mid-combat deaths.
-
Stagger Resistance: Certain Hiss Charged enemies can knock Dylan out of Hammer slam animations; early stagger resistance nodes let you finish combos.
-
Ability Energy Regen: A steady supply of energy ensures Gravity Well is available to peel aggressive enemies off you.
Core Build Components and Synergies for Beginners
Synergy in CONTROL Resonant comes from matching your weapon form's elemental attunement with the abilities you have unlocked. The Aberrant’s morphing property means you can stance-swap mid-combo, but the animation lock on the swap makes it a high-risk maneuver against fast enemies. The best control resonant build ideas for beginners revolve around a single swap per engagement: open with the Hammer's Resonant Blast to stagger, then immediately swap to Dual Blades for a quick Lacerating Flurry on the weakened target.
| Build Archetype | Primary Form | Core Ability | Recommended Mod Priority |
|---|---|---|---|
| Juggernaut (Survivability) | Hammer | Gravity Well | Stagger duration, Health injector speed |
| Skirmisher (Mobility) | Dual Blades | Resonant Dash | Dash i-frames, Energy regen |
| Controller (Crowd Control) | Hammer | Gravity Well | Ability radius, Damage reduction during ability cast |
These control resonant build examples demonstrate how the same weapon form plays differently based on your ability pick. The Juggernaut build uses Gravity Well to pull enemies into Hammer slam range, while the Skirmisher build uses Resonant Dash to zip between isolated targets with the faster Dual Blades. According toIGN's first-look gameplay coverage, the flow-heavy combat rhythm rewards committing to one style early, because the upgrade catalyst economy limits how many forms you can keep at parity with zone scaling.
Weapon Form Investment and Progression Path
Dylan's The Aberrant unlocks additional forms as you progress through the main story. During the West 4th Street mission, you gain the Dual Blades form, and the Glaive form becomes available after the Mold Threshold expedition. A safe progression build invests in the Hammer form until you reach the FBC Field Office safe room, then reassigns after testing the Dual Blades against the Hiss Echo patrols in the Garment District.
The key upgrade nodes to hit before Act 2 are the Overpower modifier on the Hammer's slam, which adds a secondary shockwave on charged hits, and the Kinetic Transfer node in the Parautilitarian tree because it refunds a portion of energy when you stagger an enemy. For a deeper breakdown of how these ability upgrades scale, the parautilitarian powers guide explains the underlying energy economy mechanics.
Navigating the Respec System and Build Resets
Remedy has confirmed that a full respec function will be available, but community discussions on the controlgame subreddit suggest it may require a rare consumable item rather than being a freely accessible menu option. This control resonant respec guide covers the known mechanics so you can plan your early build without fear of permanently bricking your character.
| Respec Mechanic | Availability | Cost | Effect |
|---|---|---|---|
| Ability Point Reset | After unlocking Parautilitarian Resonance | 500 Source Essence | Refunds all ability points |
| Weapon Upgrade Reset | FBC Field Office crafting station | 1 Resonant Core | Refunds upgrade catalysts from one weapon form |
| Artifact Reset | Any safe room | Free | Unequips all Artifacts |
The control resonant reset build strategy isto treat your first respec as a planned pivot point. Do not use the respec immediately upon unlocking it. Instead, wait until you have gathered enough SourceEssence to immediately rebuild after the reset. A common mistake in early player feedback is resetting with no resources to reinvest, leaving Dylan weaker than before the respec. The weapon upgrade reset specifically refunds catalysts at a 1:1 ratio, so you lose no materials, but the ability respec costs Source Essence that could have been spent on new unlocks.
When to Commit to a Reset
Resetting is most effective after completing the FBC Field Office main mission, because you unlock the crafting station and gain access to the Aberrant Workbench. At this point, you will have enough upgrade materials to immediately reinvest in a new form. Community testing from early access players suggests that the Mold Threshold is the first major DPC check that punishes poorly optimized builds, so a respec right before entering that zone is a reliable strategy.
-
After unlocking a new weapon form: The Glaive form requires a different mod setup than the Hammer.
-
Before Act 2 boss encounters: The Distorted Tourist and Corrupted Anchor bosses have elemental weaknesses that may require you to pivot your damage type.
-
After acquiring a high-rarity Artifact: Some Artifacts buff specific weapon forms enough to justify a full build pivot.
Practical Build Examples and Combat Flow
The control resonant build examples below are designed for the most common combat scenarios you face in the West Incursion Zone during the first ten hours. Each build lists the weapon form, ability, and mod setup that handles the scenario without requiring rare endgame Artifacts.
| Combat Scenario | Recommended Build | Key Interaction |
|---|---|---|
| Elite Hiss (single target) | Juggernaut Hammer + Gravity Well | Pull elite into slam, stagger, charged heavy |
| Hiss Patrol (3-5 enemies) | Skirmisher Dual Blades + Resonant Dash | Dash to backline ranged units first, clean up melee |
| Mold Spore Cluster (stationary hazard) | Controller Hammer + Gravity Well | Group enemies near spores, detonate with slam |
When you need a break from combat to focus on exploration, the mobility options discussed in the essential tips guide help you reach hidden collectibles without wasting injectors. The Resonant Dash ability doubles as a gap closer in fights and a traversal tool for crossing gravity-warped building gaps.
Transitioning from Early to Mid-Game Builds
The transition happens when you unlock the Parautilitarian Resonance node, which allows you to slot two abilities simultaneously. This is the inflection point where the survivability-first philosophy pays off, because you can now run Gravity Well for crowd control and Resonant Dash for mobility without sacrificing either. The control resonant progression build path from here branches into specializing in elemental damage types, which you can read about in the combat weaknesses guide once you start encountering enemies with specific Hiss attunements.
Prioritize the EnergySyphon passive node after unlocking the second ability slot. It converts a percentage of stagger damage into ability energy, creating a self-sustaining loop where your Hammer stagger combos fuel your Gravity Well, which groups enemies for more Hammer combos. According to Remedy's official gameplay details, the progression system is designed to reward deep investment in a specific combat style rather than being a jack-of-all-trades.
Frequently Asked Questions
What is the safest control resonant build guide for beginners?
The Juggernaut build using the Hammer form and Gravity Well ability provides maximum survivability. The Hammer's charged slam triggers a Resonant Shockwave that staggers multiple enemies, while Gravity Well groups scattered patrols into the slam zone. Invest early upgrade catalysts into stagger duration and health injector speed.
How do I reset my build in CONTROL Resonant?
A full respec requires visiting the FBC Field Office crafting station after unlocking Parautilitarian Resonance. Ability point resets cost 500 SourceEssence, and weapon upgrade resets cost 1 Resonant Core per form. Always ensure you have enough materials to immediately reinvest before resetting, because a reset with no resources leaves Dylan significantly weakened.
Which weapon form should I upgrade first?
Upgrade the Hammer form first because its stagger potential interrupts elite enemy attack chains, giving you breathing room to learn enemy patterns. The Overpower node adds a secondary shockwave that makes crowd control significantly easier. Only invest in DualBlades once you have spare catalysts after maxing the Hammer's core nodes.
When should I use a control resonant respec guide approach?
Respec when you unlock a new weapon form that fits your playstyle better, or before entering the Mold Threshold zone, which is the first major DPC check for poorly optimized builds. Early access player feedback suggests waiting until you have enough Source Essence to immediately rebuild after resetting.
Are control resonant build ideas flexible for different combat scenarios?
Yes, but early-game resource scarcity forces commitment to one primary style. The Juggernaut build handles single elites and patrols with raw melee power, while the Skimmisher build excels at mobility-heavy encounters. You can pivot later with a control resonant reset build strategy once you accumulate enough upgrade materials for a second weapon form and ability combination.