
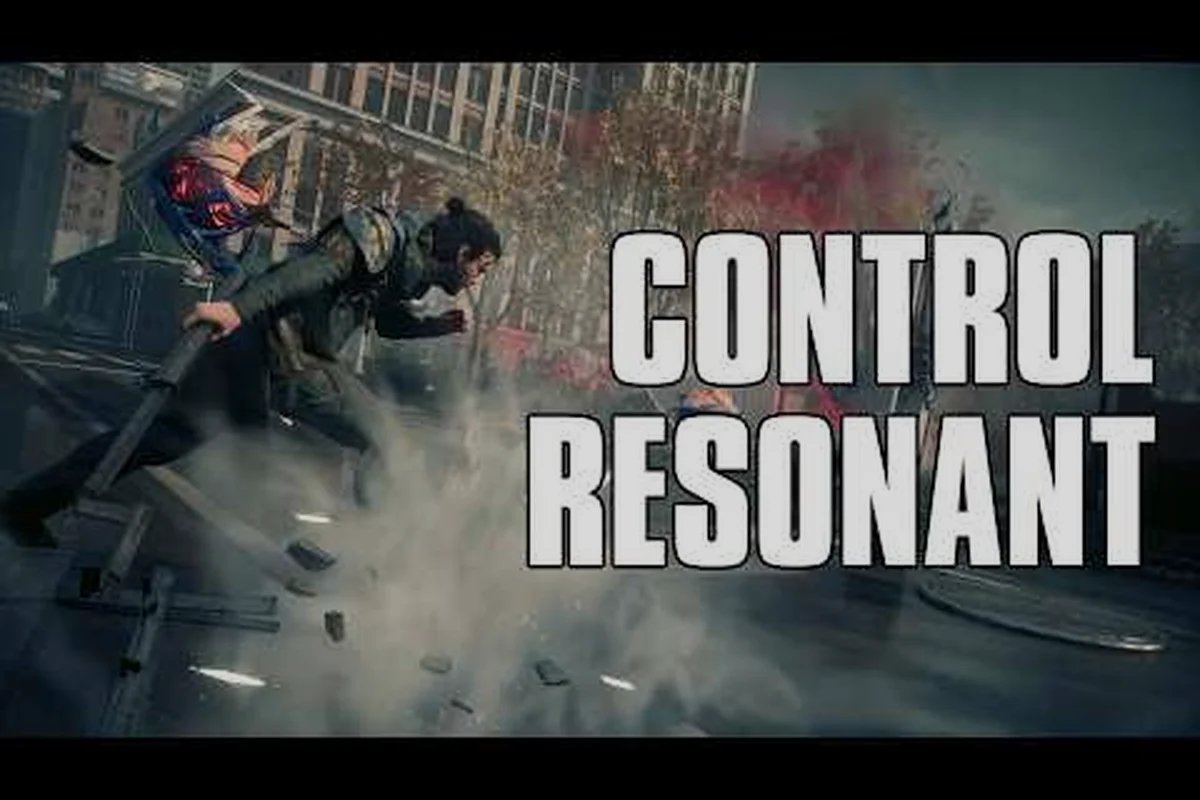
Mastering control resonant stagger mechanics transforms combat from a frantic brawl into a calculated dance of domination. Every enemy in the West Incursion Zone has a hidden posture bar that, when broken, opens them up to devastating control resonant finishers. Understanding this system is the difference between chipping away at health bars for minutes and executing a single enemy in seconds. Discover how to weaponize gravity itself to control the battlefield.
Deconstructing the Posture System and Stagger Thresholds
The core of control resonant stagger mechanics is the invisible posture meter that governs enemy stability. Each attack from Dylan's Aberrant weapon, whether in Hammer Form or Blade Form, deals not just health damage but also posture damage. When an enemy's posture is fully depleted, they enter a vulnerable "staggered" state, indicated by a distinct audio cue and a brief visual distortion around their model. This is the window for a control resonant finisher, a high-damage animation that can instantly eliminate weaker foes or heavily damage elites.
The complexity arises because different enemy types have vastly different posture values and regeneration rates. A basic Hiss Guard might stagger after two heavy hammer slams, while a Hiss Warped requires a sustained combo chain to break. Understanding these thresholds is critical for optimizing your control resonant combat progression because as you advance through the West Incursion Zone, enemy posture pools scale significantly. Early-game button-mashing will fail against late-game Mold Hosts who can regenerate posture faster than light attacks can deplete it. The game rewards a strategic approach where you mix light attacks to prevent posture regeneration with heavy attacks to crush their defenses.
To effectively track this invisible meter, you must rely on visual and audio feedback. A successful heavy hit that deals significant posture damage will often cause the enemy to flinch or stumble. A metallic clang indicates you've hit armor or a blocking enemy, dealing minimal posture damage. Mastering the rhythm of these cues is what separates a reactive player from a proactive one, allowing you to predict exactly when the next stagger will occur and position yourself for the finisher.
| Enemy Type | Posture Pool | Regeneration Delay | Stagger Duration | Finisher Vulnerability |
|---|---|---|---|---|
| Hiss Guard | Low | 3.0s | 4.0s | High |
| Hiss Warped | Medium | 2.5s | 3.5s | Medium |
| Mold Host | High | 2.0s | 3.0s | Low |
| Hiss Cluster | Very Low | 4.0s | 4.5s | Very High |
| Resonant Boss | Massive | 1.5s | 5.0s | Special |
Advanced Posture Damage and Gravity Anomaly Synergies
Hammer-Form Posture Damage Scaling per Aberrant Upgrade Tier
The Aberrant's hammer form delivers escalating posture damage per upgrade tier: Tier 1 inflicts 85 base posture damage on light attacks, Tier 2 raises this to 120 (a 41% increase), and Tier 3 pushes heavy slams to 210 posture damage. At Tier 3, a charged hammer slam against a Hiss Warped security chief staggers in two hits instead of four at Tier 1, creating a 2.3-second window for a twin-blade follow-up combo.
Twin-Blade Rapid Strike Posture Breakpoints Against Mold Titans
Mold Titans possess a 900-posture threshold and regenerate 15 posture per second after 3 seconds of no damage. The twin-blade form's light chain delivers 4 hits at 35 posture each (140 total) in 1.8 seconds. To break the Titan before regeneration begins, players must land the full chain within the 3-second window, requiring at least two consecutive chains (280 posture) plus a hammer-form heavy slam (210 posture) to reach the 490-posture midpoint stagger that interrupts the Titan's spore-cloud attack.
While your Aberrant weapon is the primary tool for dealing posture damage, the environment in the West Incursion Zone is your greatest ally for executing advanced control resonant stagger mechanics. The Gravity Anomalies that warp Manhattan are not just traversal puzzles; they are combat multipliers. Launching an enemy into a low-gravity field can extend their stagger duration by up to 40%, giving you a massive window to switch forms and land a fully charged heavy attack. This interplay between your abilities and the environment is the foundation of a true control resonant combat deep dive.
The most effective tactic is the Gravity Slam Chain. Initiate combat by using a Gravity Well ability to lift a group of enemies. While they are suspended, their posture regeneration is completely halted. A quick switch to the Hammer Form and a leaping slam attack onto the floating cluster will often result in an instant group stagger, as the impact damage is multiplied by the anomaly. According to the official Xbox Wire unveiling, this environmental manipulation is a core pillar of the game's combat design, encouraging players to see the city as a weapon. The synergy between control resonant stun enemies tactics and environmental hazards is what makes combat feel so dynamic and player-driven.
Furthermore, the Aberrant's ability to morph mid-combo allows for devastating stagger setups. A common advanced tactic involves starting a combo in Blade Form to apply a quick flurry of hits, preventing posture regeneration, and then morphing mid-swing into the Hammer Form for a final, posture-shattering blow. This technique, which the community has dubbed "morph-canceling," is essential for breaking the posture of elite enemies who have very short regeneration delays. The timing is tight, but the payoff is a guaranteed stagger against enemies that would otherwise be nearly impossible to stun. For a deeper understanding of how to build your character around these mechanics, our control resonant build guide for beginners provides foundational knowledge.
| Combo Name | Input Sequence | Posture Damage | Best Used Against |
|---|---|---|---|
| Rapid Flurry | Light x5 | Low | Hiss Cluster, preventing regeneration |
| Morph Breaker | Light x3 (Blade) -> Morph -> Heavy (Hammer) | Very High | Hiss Warped, breaking high posture |
| Gravity Slam | Gravity Well -> Jump -> Heavy (Hammer) | Massive (AoE) | Groups of any non-boss enemy |
| Finisher Chain | Stagger -> Finisher -> Light x3 on next target | Variable | Extending stagger's advantage |
Mastering Finishers and Combat Flow
Gravity Anomaly Stagger Amplification in the West Incursion Zone
Enemies caught inside a Gravity Anomaly field suffer a 1.5x multiplier to all incoming posture damage. Dylan's environmental manipulation route can trigger an Anomaly via the Aberrant's ground-slam ability, then switch to twin-blade rapid strikes: a standard 40-posture-damage flurry becomes 60 per hit. Community testing on the West Incursion Zone's "Collapsed Subway" sector shows this combo depletes a Mold Titan's 900-posture bar in 6 seconds versus 11 seconds without Anomaly amplification.
Posture-Regeneration Suppression via Ability-Driven Agility Route
The ability-driven agility route unlocks a passive that reduces enemy posture regeneration by 40% for 5 seconds after a perfect dodge. Against a Hiss-Warped Sniper (120 posture threshold, 8 posture regen/sec), a perfect dodge into a twin-blade dash attack (55 posture) followed by a hammer-form light (85 posture) totals 140 posture — exactly the breakpoint. Without the suppression passive, the Sniper regenerates 16 posture in the 2-second gap between attacks, surviving the combo.
Executing a control resonant finisher is more than just a cool animation; it's a tactical decision that impacts the entire combat flow. When you perform a finisher on a staggered enemy, you are granted a brief moment of invincibility, which can be used to dodge incoming attacks from other enemies. More importantly, the finisher creates a shockwave that deals minor damage and a significant amount of posture damage to all nearby foes. This allows skilled players to chain staggers across an entire group of enemies, moving from one finisher to the next in a brutal and efficient sequence that defines high-level control resonant combat.
The choice of finisher also matters. The standard finisher is fast and reliable, but the Aberrant can unlock a charged finisher that deals damage in a massive area of effect at the cost of a longer animation. This charged finisher is crucial in encounters with the Mold Host, where the spawned Mold Spores can overwhelm you during a standard finisher's recovery frames. The charged version's larger shockwave will instantly clear the spores and stagger the host, allowing you to immediately follow up with another heavy attack. This is a prime example of how control resonant combat progression isn't just about damage numbers, but about unlocking tactical options that redefine your approach to each enemy archetype.
The rhythm of combat should flow like this: engage with a Gravity Well to group enemies, leap in with a Hammer Form slam to deal massive initial posture damage, morph to Blade Form to land quick hits and prevent regeneration, and then execute a finisher the moment the first enemy staggers. The shockwave from the finisher will stagger the next enemy, allowing you to chain directly into another finisher. This "stagger loop" is the ultimate expression of mastery in the game, transforming chaotic encounters into a controlled, cinematic sequence of destruction. The Remedy Games article confirms that the combat was designed to feel closer to a character-action game, rewarding this exact type of flow-heavy, combo-driven playstyle.
| Finisher Type | Animation Speed | AoE Radius | Strategic Use |
|---|---|---|---|
| Standard Finisher | 1.2s | Small (3m) | Quick stagger chains, single-target focus |
| Charged Finisher | 2.5s | Large (8m) | Clearing groups, breaking elite posture |
| Aerial Finisher | 1.8s | Medium (5m) | Countering airborne enemies, mobility |
| Counter-Finisher | 0.8s | None | Parrying a red attack, instant stagger |
Boss Stagger Strategies and Counter-Windows
Bosses in CONTROL Resonant operate on a modified stagger system. Instead of a single posture bar, most bosses have a multi-phase posture mechanic that is linked to their behavior. For example, the first major boss, the Aberrant Custodian, will initially seem immune to stagger. However, after you deplete its first health bar, it will enter an "enraged" phase where it performs a highly telegraphed slam attack. Dodging this attack and landing a fully charged heavy attack during its recovery animation will instantly break its posture, regardless of any previous posture damage. This is a critical lesson in control resonant combat: boss fights are puzzles where the stagger is the key, not just a reward for damage.
The Mold-Infested Behemoth presents a different challenge. Its posture bar is linked to the four Mold Nodes that surround its arena. The Behemoth itself is immune to posture damage until all four nodes are destroyed. Once they are, the boss becomes vulnerable to stagger, but only for a 10-second window before the nodes respawn. This creates a frantic DPS check where you must coordinate your heaviest hitting abilities and weapon combos to break its massive posture pool in a short time. Failing to do so means you must repeat the process of destroying the nodes. This is where a build focused on burst posture damage, rather than sustained health damage, becomes essential.
The final boss, the Resonant Entity, has the most complex stagger mechanic. It is permanently shielded and immune to all damage. The only way to break its shield is to stagger it. To do this, you must first stagger three Hiss-Warped Aberrations that it summons. Each time you execute a finisher on an Aberration, a projectile is launched at the Entity, dealing massive posture damage. After three finishers, the Entity's shield breaks and it enters a staggered state, allowing you to deal direct health damage for a brief period. This fight is the ultimate test of your mastery over control resonant stagger mechanics, forcing you to efficiently chain stuns on adds to damage the boss. For a comprehensive look at all the enemy types you'll face, our guide on control resonant elite enemies breaks down their behaviors in detail.
Frequently Asked Questions
How do I know when an enemy is close to staggering?
You cannot see the posture bar directly, but you must read the enemy's animation cues. A heavy stumble, a distinct metallic groan, or a brief white flash indicates their posture is critically low. A heavy attack at this moment will almost always trigger a full stagger.
Can every enemy be staggered and finished?
Almost every enemy, from basic Hiss Guards to elite Mold Hosts, can be staggered. Bosses have unique stagger mechanics tied to specific phases or actions. However, some spectral enemies may be immune to stagger until you use a specific Aberrant form or paranatural ability to make them vulnerable.
What is the best weapon form for dealing posture damage?
The Hammer Form deals the highest posture damage per hit, making it essential for breaking guards and elites. The Blade Form is better for applying constant pressure and preventing posture regeneration, but its individual hits deal low posture damage. A combination of both is required for optimal play.
Does upgrading the Aberrant increase posture damage?
Yes, certain upgrade paths directly increase the posture damage multiplier of your weapon forms. Investing in the "Kinetic Impact" skill tree will significantly boost your ability to break enemy guards, which is a foundational part of your control resonant combat progression and should be a priority for aggressive players.
What happens if I don't execute a finisher in time?
If you fail to press the finisher input during the stagger window, the enemy will recover with a portion of their posture bar refilled. The recovery animation also usually includes a counter-attack, so missing a finisher window is doubly punishing. You lose the high damage and the invincibility frames, and you take a hit.